Mini Samantha's Bed!
It wasn't long ago that I was fairly ignorant to the world of American Girl Dolls. Although both my mom and mother-in-law had wanted to get a doll for my daughter at one time or another, I wasn't about to have anyone spend over $100 on a doll until I was sure she was able to take proper care of such an expensive toy. I bought her an inexpensive 18 inch "Abby" doll from A.C. Moore several years ago until she was ready for an American Girl.
But recently, my daughter showed interest in her Abby doll and took very good care of her. So, I began to look through the American Girl catalog that came to my mom's house. We saw the new "Maryellen" doll and loved her - mostly because she was from the time period when my mom was a little girl, and I thought it would be neat for Queenie to learn about the 1950s and to think about her Grandma growing up when she played with that doll.
It was shortly after that I became familiar with the AG Mini Dolls! I realized that this was a way to get my daughter excited about history, and for her to connect to different time periods of American History that we were studying in school. I decided we'd collect each mini doll as we got to their time period in our historical study. I purchased stickers from Amazon of the dolls for us to place on our timeline.
I intended to buy the dolls in order, but one day I saw Samantha was at an all-time low price so I decided to order her. When she arrived, Queenie was delighted with her. She placed her back in her box after playing each time and was very careful with her. I knew she was ready for this responsibility!
I got excited about this new project, and decided it would be fun to build a room for each doll in their time period. I discovered that You Tube is full of AG DIY projects, and watched several of them with my daughter. I became inspired with all the things I could make for the dolls - both 18 inch and mini! I couldn't wait to begin.
Since we already had Samantha, I started with her bed, which looks like this:
I studied her bed in the catalog, and also watched You Tube reviews of her bed. I began to plan the size and shape of my mini bed, and the materials I would use. I began with drawing a pattern of the footboard, making it wide enough to hold at least two dolls. Were I to do this again, I would make my pattern out of cardstock instead of paper, to make it easier to trace on cardboard and foam.
Finally one Saturday, after a difficult week, I decided to work on the bed. It was very theraputic for me and I was able to finish it in one day. I love to craft and create, and it seems all I do each day (cook and clean) gets messed up everyday. It's very comforting to take time to create something that isn't immediately undone! I'm thankful for a husband who understands this about me, and allows me time to be creative.
I took this pattern and traced it onto cardboard. On Samantha's bed, the middle section is made to look like caning. So I printed and laminated a caning pattern.
This picture shows how I reinforced the headboard with skewers and popsicle sticks.
This picture shows the four layers of foam, reinforced cardboard, laminated caning pattern, and sparkly foam on top. I hot glued these layers together, and then glued ribbon around the edges.
I cut pieces of cardboard and hot glued them together to form the body of the bed. Then I covered it with batting, and white fabric for the mattress.
I have a little video of the process, which I may edit at some point into a more detailed tutorial, but for now I am just excited to show my finished product! Here is Samantha on her new bed!


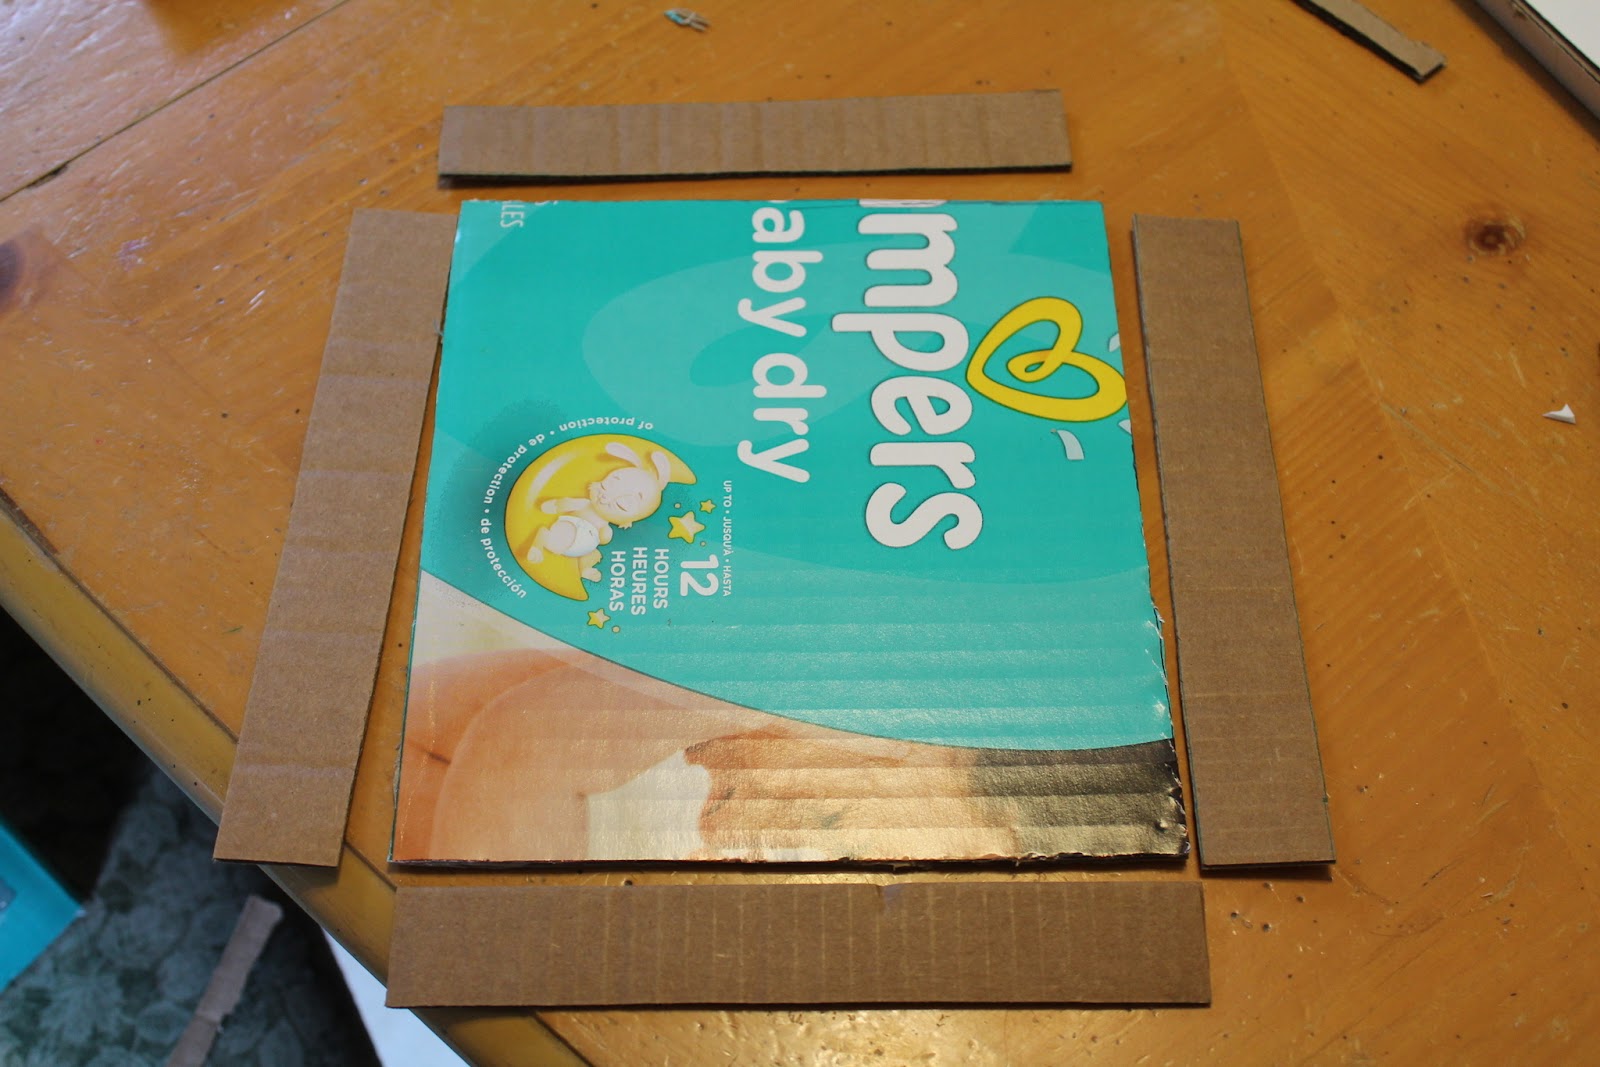
My next project was to create a room for her. I took a large diaper box and covered the inside with white contact for the walls, and contact paper that looked like wood for the floor. Then I cut windows, and used colored popsicle sticks and skewers to trim the windows. I used a plain laminated sheet for window "glass."


I added a chandelier made from a tea light holder, an electric tea light, and an old necklace, and hung it from the ceiling.
My daughter has enjoyed playing with the girls in here. We've since collected Rebecca and Elizabeth, and Kaya! We look forward to making things for these girls in the future! Stay tuned...


 The long awaited day had come. For about three weeks my daughter had been waiting for Kit Kittredge to arrive at her Grandma's house - refreshed from her stay at the American Girl Doll hospital! Kit had been found by my aunt at a garage sale for a bargain price, although she was in fairly good shape! My mom saved her at her house for my daughter until I felt she was ready to own an AG doll.